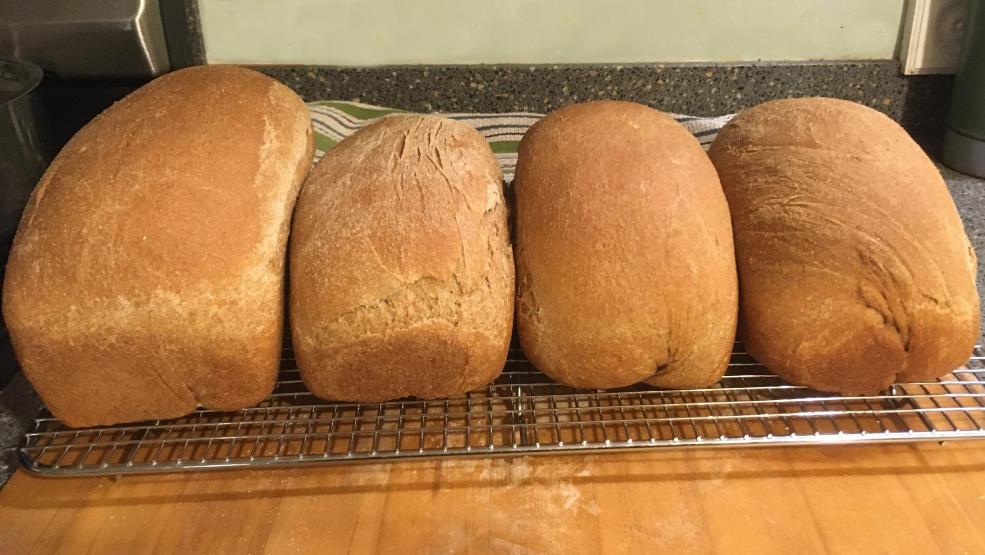
Bread Baking as Essay Writing (An Extended Metaphor)
I have been baking bread since—as they say—before it was cool. And I have often tried to use this particular metaphor with my students, but it never worked because (it turns out) few of them had ever baked yeast bread. At least, they didn’t before now.
This graph shows the Google search trend for “bread baking”:

Bread Baking as Essay Writing
My moment has finally come. Friends, it’s time for a quarantine bread-baking lesson, complete with an extended metaphor about the writing process.
Step 1: Grab your favorite cookbook and gather your ingredients.
Today we’re making oatmeal bread because it’s one of my favorites. I don’t have permission to share the recipe I’m using, but the steps we follow will be fairly standard for kneaded yeast breads. Find a recipe of your choice to get ingredients and measurements.
Starting this metaphor right at the top, I will here point out that there is no sense beginning an essay without all of your ingredients—your ideas—already gathered in one place. Very little is more frustrating than popping back and forth to your pantry, hands already sticky and up to your elbows in flour, for some last-minute addition. Imagine if you forgot the salt at the outset and tried to knead it into a completed dough? (I’ve never been forced to find out that answer, but I don’t think it would integrate well at all.) In the same way, students believe they hate writing because they sit down and prepare to mix a dough with nothing in front of them. Of course you can’t write a draft from an empty page! Give yourself time to write just to ‘gather your ingredients.’
Step 2: Add yeast to water.
Some recipes will encourage you to add a sweetener here, too, to get the yeast really excited.
The yeast, of course, is what’s going to make the bread rise—it’s first going to take a small ball of dough and turn it into four loaves, and then it’s going to make each loaf tall and round and beautiful.
In the essay, the yeast is the story you’re telling. Without a central story, your essay is going to stay flat and small (and possibly lumpy). Students who stall out at 350 words are usually relying on an idea that is broad and philosophical (rather than personal and specific), or an anecdote that lacks the growth potential of a true story. Does the main character of your story (that is, YOU) experience growth? Then you’ve found some yeast.
Step 3: Combine dry ingredients.
Remember how I just warned you not to forget the salt? This is where you mix the salt with the flour. It looks like such a vanishingly small amount as to be completely forgettable, but I’m told that saltless bread is terrible.
When you brainstorm, before you even add that central story, don’t forget to include all of the details a reader will need to understand it. This is another way students mistakenly believe they have nothing to say—they fail to provide the necessary background like Who was there? What was the event like? When did it happen? How long had you been a Scout/hockey player/artist? How did you get to that campout/championship/mural contest?
Step 4: Make a well in the middle of your dry ingredients and pour in the wet ingredients. Mix, mix, mix.
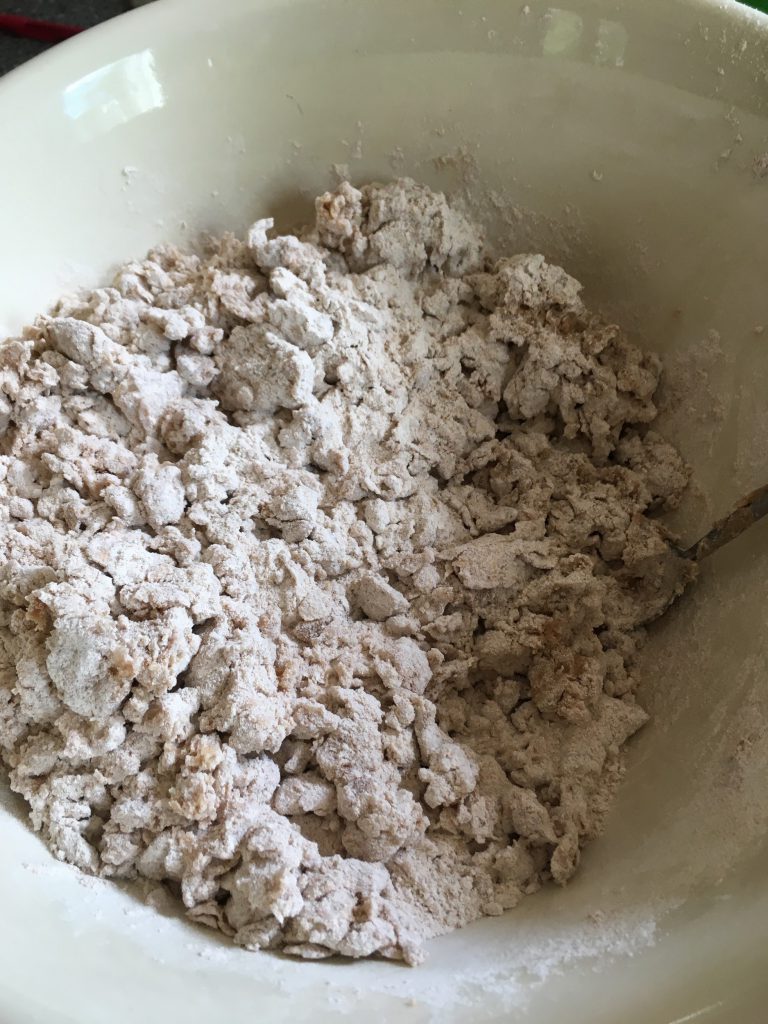
OK, right here: This is it. This is the metaphor I always want students to understand. Do you see this mess?
Bread Baking as Essay Writing
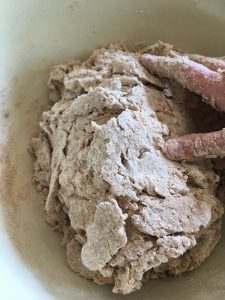
Does it look anything like bread? Does it even look anything like DOUGH? No. It looks like a shaggy mess. You have to plunge your hands in and just push at it until it comes together. This isn’t kneading—this is just squishing, mushing, pushing—taking this falling-apart pile of wet flour and turning it into dough.
So what’s the metaphor? This is your essay at the rough draft stage—the PURE, beginning rough draft stage. You will have this wonderful pile of ideas, but it will look like a MESS. It will take a lot of faith in yourself—or if you don’t have faith in yourself, faith in the process—to trust this moment and continue. Don’t give up! Don’t despair of your story and throw it all out! Keep pushing.
Bread Baking as Essay Writing
Step 5: Knead.
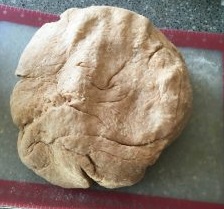
See? This is what happens.
Bread Baking as Essay Writing
Keep pushing, keep pushing, add just a bit of water and flour as necessary, keep squishing … and somehow, magically, one moment you have a shaggy mess and the next you have a lovely ball of dough. But guess what? You’re not done—not by a long shot. My cookbook recommends about 20 minutes of kneading for two loaves—so this 4-loaf batch I’m doing here should technically be kneaded for FORTY MINUTES. That is SO. MUCH. KNEADING. (True confession: I don’t always do the full 40. But I assume my loaves could be taller if I didn’t cheat it!) The better you knead, the better the rise, the better the bread.
OK, you totally see where this is going by now, right? It’s common to think that once your essay has come together, it’s done. But the kneading you do—the continued working with the draft—is going to continue improving that piece. One common mistake is to assume your initial organization is the most logical, just because that’s how the ideas came out of your head. (Spoiler alert: That usually means it’s NOT the best organization.)
Step 6: Let rise.
Cover the dough with a damp towel, so it doesn’t dry out, and put it somewhere warm. [Technical tip: I usually heat the oven until it registers its lowest possible temperature (100) and then turn it off. By the time I’ve opened the door, put the bowl in, and shut it, it should be about 90. Winter room-temperature in New England (and even spring room temperature) really doesn’t cut it for bread dough. The rise can take twice as long as it should.]
It’s common to want to knock your essay out quickly. A week, or even a day. I do NOT offer one-and-done essay workshops. I think they cannot possibly allow for the kind of thoughtful processing of your story and experience that will lead to the best essay. It’s rare for students to have contemplated their lives before in the way the college application asks of them. Take your time. Give yourself enough time for both slow and steady ‘gathering of your ingredients,’ and also true ‘rise’ time—leaving it alone. When you return after two days of letting it sit, you will notice things you didn’t notice the first time—pieces of the story that need more clarity, pieces that feel extraneous. Each read will lead to improvements.
Step 7: Punch down and rise again.
After about an hour and a half, check on your dough. If all is well, it should have about doubled in size. Isn’t it beautiful? Now guess what. You have to make it smaller all over again. What?! It looks like it has risen as high as it can, but actually, when you punch it down, you are giving it the opportunity to grow all over again in different ways.
This is one reason why the word-count limits you’re facing are actually your friend. Being forced to reevaluate your bloated draft until it reaches 650 words is going to improve it significantly. And the longer you take in this process—not months, but at least several weeks—the more your thoughts will deepen and mature.
Step 8: Shape and proof.
The first time I made yeast bread, I didn’t understand how to shape it. I simply pushed the dough down into the pan. It didn’t rise at all in the oven and came out looking like a dense whole-wheat brick. Yeast bread, like an essay, is not a dump cake. It must be shaped carefully so that it rises properly in the pan. The organization will give your story room to rise if you will bring related ideas together and cut out parts that are redundant.
‘Proof’ means to rise yet again, a final time in the pan before going into the oven. Can you believe it’s still growing? In the same way, the writer grows through the process of writing about their own growth. And of course, the final ‘proof’ of the essay is one (or more!) proofreads to ensure it’s free of surface errors.
Step 9: Bake and share.
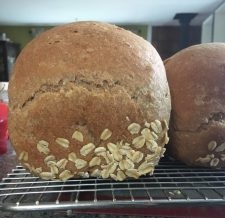
You’ll have no trouble finding people to eat your fresh bread, even if it does come out lumpy or dense. I hope whenever you finish your essay, you will feel similarly confident sharing it. Depending on what you write about, your essay will likely make people happy—your parents, coaches, friends, or whatever special people in your life make cameos.
Bread Baking as Essay Writing
Yeast bread from scratch is a long undertaking, and as you peek at the rising dough wondering if it will ever double in size, you may doubt the work of the yeast or your own efforts at kneading. But once you’ve tasted your fresh bread, you’ll be eager to try again.
Writing a personal essay is also a long undertaking, but I hope you see now that with the right recipe, it can be as successful as your first loaf of bread. It’s not magic—it’s craftsmanship. If you take your time and work through the process, you’re going to love the results.
